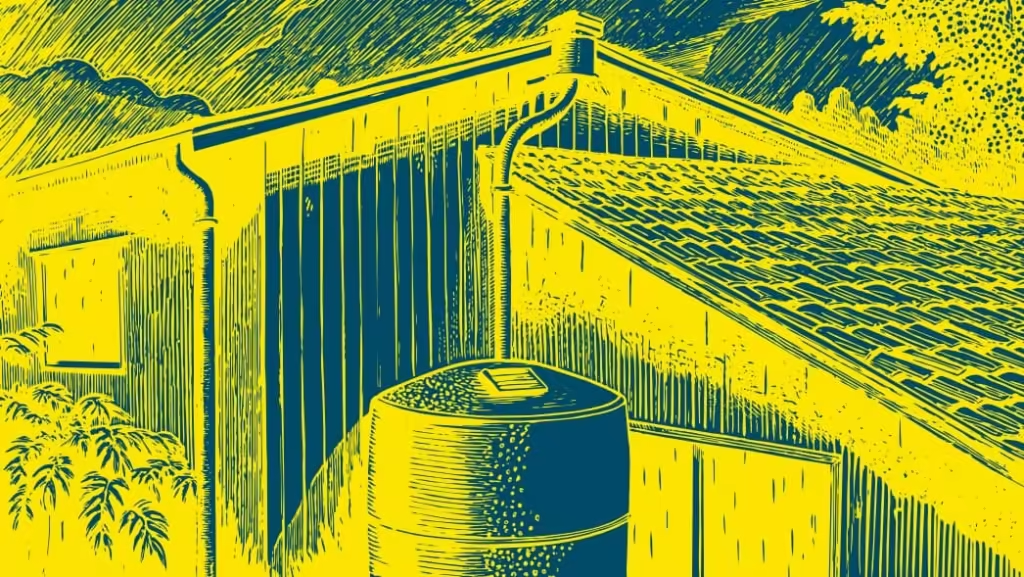
Did you know that a 1,000 square foot roof can collect about 600 gallons of water from just 1 inch of rainfall? That’s a lot of free water going to waste! In this guide, we’ll dive into the world of DIY rainwater harvesting – a fantastic way to conserve water, lower your bills, and help the environment. Whether you’re a seasoned DIY-er or a complete novice, I’ll walk you through everything you need to know to get started. Let’s make every raindrop count!
What is Rainwater Harvesting?
Rainwater harvesting doesn’t get much simpler than just catching water whether, by roof collection, tarp, or any catchment area you have, and then collecting and storing it in a storage tank, rain barrel, cistern, or any vessel you have available. Rainwater harvesting as a practice is over 2000 years old and they did it on scales more impressive than what we’re talking about here. Picture a scene with a cowboy shooting some snot rockets into an old oak barrel filled to the brim with gutter-fed water next to a saloon. That’s what we’re talking about here and to be honest, it’s not as grand but it works.
It’s still relevant today because things still cost money and water scarcity. Depending on where you are in the world one or both probably affect you. For me, it fluctuates, in South Africa where I live we’ve gone through season-long droughts but we had daily afternoon thunderstorms in my part of the city, just not where the municipal water supply dams were, bizarre but nature I suppose. There are also many different options for whatever level you need, from simple rain barrels to complex systems with filtration and purification, rainwater harvesting comes in all shapes and sizes. DIY rainwater harvesting can be a great way to practice water conservation and increase self-sufficiency.
Benefits of DIY Rainwater Harvesting
The most obvious benefit of having a rainwater harvesting system is the one on your pocket. My uncle and I both have rainwater catchment systems that just fill our toilet cisterns and water our gardens. This doesn’t sound like a lot, but with big gardens and toilets accounting for around a quarter of household water consumption, you start to see the benefit. This number only grows as the system gets bigger and fancier, especially once it’s filtered and can become potable water.
Many people also forget that water treatment and transportation of water create massive amounts of pollution. Environmentally, the list of benefits is almost never-ending: Catching rainwater can reduce strain on sewer systems from runoff, use in gardening can help restore groundwater levels, and help stop the overdrawing of groundwater by being less reliant on pumped groundwater. It also eases reliance on a municipal supply which in turn reduces the burden on all the ecosystems municipalities draw their water from. Like any off-grid enthusiast, it provides that sense of self-sufficiency and emergency preparedness that I think we all hold very dear.
Planning Your DIY Rainwater Harvesting System
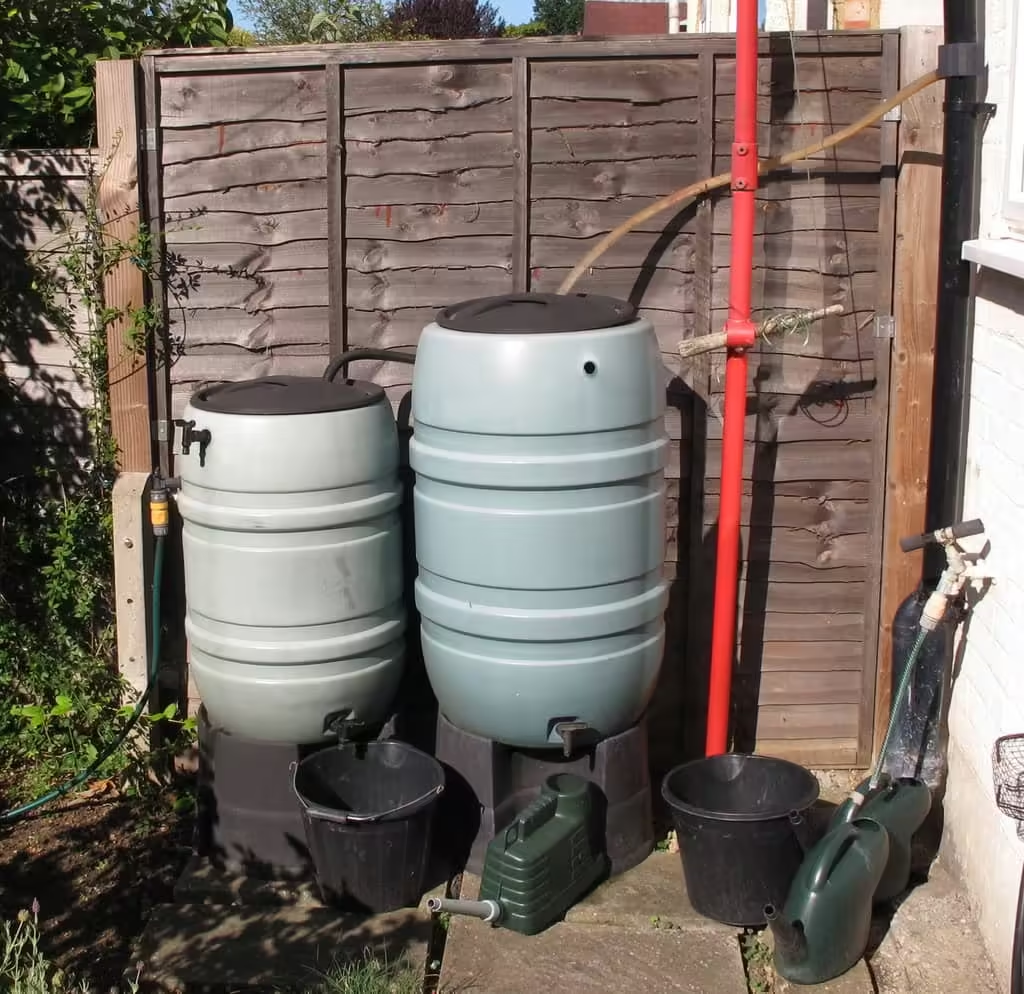
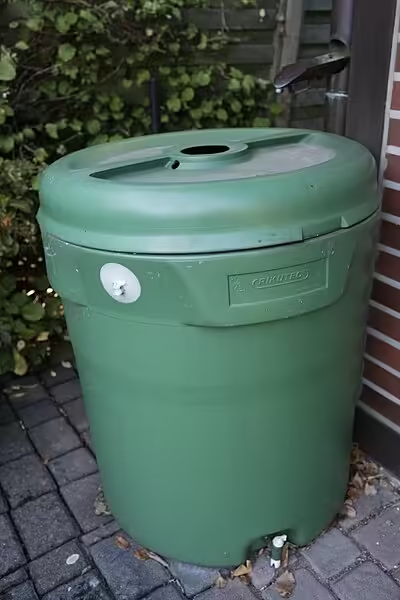
Planning for a rainwater harvesting system, I recommend starting small with a 210l (55-gallon) rain barrel fed directly from one of your downspouts. Starting something like this can give you a good idea of the potential water collection quantity and its impact on your at-home water usage.
From there, or if you want to skip that step, I recommend tracking your household water consumption per month, more than likely it’s going to be more than you think which was the case for me. Next, you need to measure out your catchment area, this article here does a great job of explaining it a lot better than I can, and is what I used.
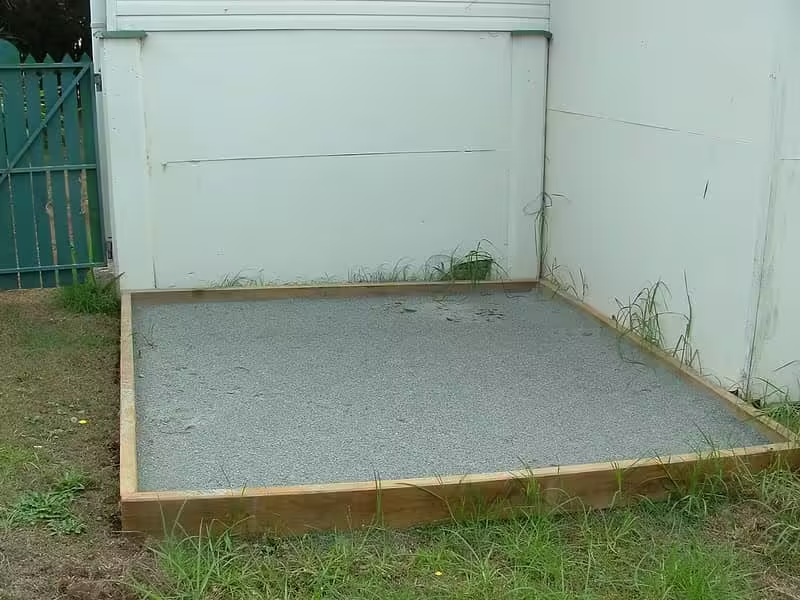
To find the tank location, it’s best to have it as close to your downspouts as possible. Some room can be set aside for aesthetics and the best placement for you, as a rule of thumb, try and keep the length of the pipe to an absolute minimum, this will reduce the probability of leaks and blockages, and more than likely a concrete slab will have to be laid for the tank so plan accordingly. Remember you can always find ways to cover or hide them if it really is an eyesore for you.
Before we start any of this, I recommend checking and making sure you understand your local regulations. In South Africa, this largely falls into municipal by-laws and is largely practiced across South Africa, especially in rural areas where municipal water is virtually nonexistent. I was surprised to see some U.S. states like Colorado have heavy regulations on Rainwater harvesting, hopefully, we will see change as rainwater harvesting begins to spread.
Essential Components for a DIY System

Catchment Area (Your Roof):
- It could be corrugated iron, tiles, or other materials.
- Avoid asbestos roofs for obvious health reasons, even though I have read articles that say there is no connection between asbestos roofs and rainwater collection leading to illness because you are not breathing it in, please, please, please just steer clear of it.
- The larger the area, the more water collected if you do not have a large enough area, simple structures like building a carport or a sheltered outside entertainment area kill two birds with one stone and have helped us a lot.
Gutters and Downspouts:
- Invest in quality materials to avoid leaks, and remember not to confuse fixing problems with maintenance, having the peace of mind that something can run smoothly without constant monitoring is worth the extra cost. Cheap plastic ones might not hold up well and tend to need replacement.
- Consider seamless gutters for better performance.
First Flush Diverter:
- Acts as a “bouncer” for your water system, keeping out initial debris (leaves, bird droppings, etc.), and primarily catches and diverts the first wash of your roof when it starts raining.
- It can be DIY-ed with PVC pipe and a ball valve but is generally pretty cheap and easy to find.
- Important for maintaining water quality, although some experts disagree and argue mesh gutter blocks are good enough ,it has worked well for people I know but in recent years, we have had regular and consistent rains, which means the loss of water during the first flush hasn’t really affected us. I do encourage you guys to look into it and make a decision yourself.
- I would say for the small scale 210-liter setup it is largely unnecessary.
Storage Tank:
- You can get creative with this one based on your needs. Options range from repurposed barrels to large polyethylene tanks. Size depends on your space, budget, and water needs. Ensure it’s food-grade if you plan to drink the water. I recommend starting with a smaller tank and adding multiple others as you go along, allowing for easy cleaning if contamination occurs, not solely reliant on one and they are more mobile.
Filtration System:
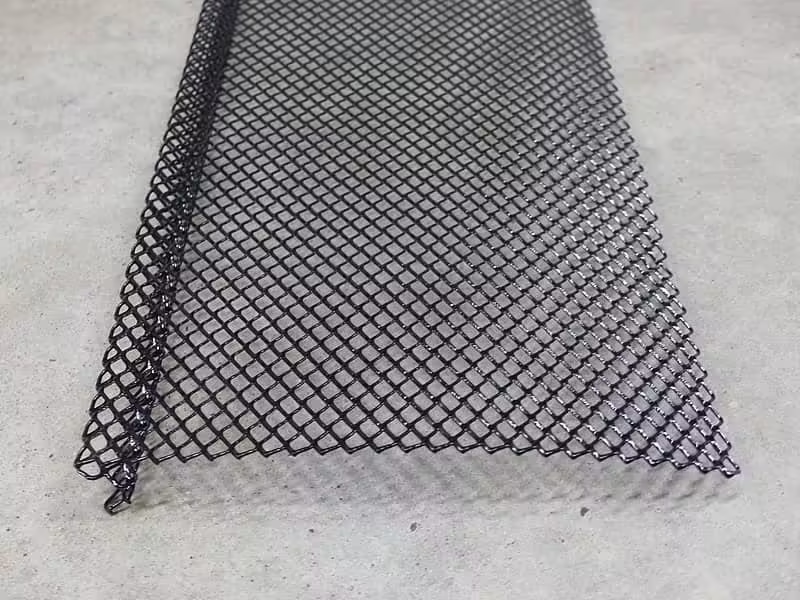
- It can be as simple as a mesh screen for basic debris removal – this is great for just garden use or filling toilet cisterns. More complex options include multi-stage filtration, with drinking water requiring more thorough purification like reverse osmosis and UV light disinfection.
Remember, you can start simple and upgrade your system over time. The key is to get started and learn as you go.
Step-by-Step Guide to Building Your System
For this step-by-step guide, I will assemble a simple rainwater harvesting kit and specify parts so you can find them online or in your local home improvement store and follow along at home. It’s also fine to use whatever parts you have lying around or parts you choose, customizing is probably the funnest thing about DIY.
Step 1 – Clean and Prepare Your Catchment Area/Roof: give it a good once-over, Remove any debris, fix loose tiles, and clear out those gutters. Please remember to practice caution when on the roof and use a safety harness if your ego allows it, accidents from falling off roofs are a lot more common than you think.
Step 2 – Install or Upgrade Your Gutters and Downspouts: I swear by seamless aluminium gutters, they are practically leakproof and far and away the best for your home, but, big but… if you use them that is where this DIY story ends. Seamless aluminium gutters need to be professionally installed, they are specially cut to fit your house. Measured by laser with things like slope, pitch, and others taken into account that the average DIY-er just can’t match in terms of quality of build. Sorry for the long rant, it just felt like it needed to be said, let’s proceed as DIY-ers. The next best thing is to either install your guttering with either aluminium or PVC, these are just the most common and can be bought by however many feet or meters you need. There also other materials like Zinc and Copper which are popular they just come with a bigger price tag, personally a bit over kill but i just could be jealous.
- 2a.) Joining Aluminum Gutters: Use gutter sealant and pop rivets or self-tapping screws. Apply a bead of sealant along the joint. Overlap the gutter sections by about 1 inch. Secure with rivets or screws every 4-6 inches.
- 2b.) Connecting PVC Pipes: Clean pipe ends with PVC primer. Apply PVC cement to both the pipe and fitting. Push the pipe into the fitting, giving it a quarter turn. Hold for 30 seconds to allow initial bonding.
- 2c.) Install gutter guards: Vital to keep the majority of debris out, Micromesh is probably the best as they can even keep debris like pollen out. Starting with any kind of grid, guard or mesh will work.
Step 3 – Set Up the First Flush Diverter: I recommend getting a flush diverter kit and installing it at the top of your downspout. Making your own is fine but takes unnecessary time in my opinion. Again, I’d say it isn’t really necessary for this set up or if any depending on your preference, either way the gutter guards should be more than enough for this system.
Step 4 – Choose and Position Your Storage Tank: I started with a 210-litre (55-gallon) polyethylene tank, get a food-grade one, so you can drink from it if needed. Mine just takes up a corner of my patio and at one point was just in a flower bed with no proper base. Having a concrete base is recommended, especially as the tanks get bigger and less stable, but with a 210-litre any flat surface should be fine.
Step 5 – Install Filtration and Purification Systems: This step takes a lot more investment and there are so many different filtration and purification systems out there. For now, though this current setup with a Flush diverter and gutter guards will be perfect for gardening and flushing toilets.
Remember Rome wasn’t built in a day, so take it slow, following the above checklist is basic but a good place to start watch all the YouTube guides you can, and build the right system for you.
Maintenance and Upkeep of Your Rainwater System
We all like doing a bit of maintenance, especially if it’s something you create or set up, almost an intimate check-in with a loved one if that’s not taking it too far. This TLC goes a long way in keeping longevity up in any system and promoting sustainable water management.
First things first, start by clearing and cleaning out your gutters and downspouts twice a year, more if you’ve got trees playing leaf confetti all over your roof. This eco-friendly maintenance is crucial for water conservation. Next would be to flush out your flush diverter, which should be a monthly task. You can check the water quality in your tank and make a decision based on that. Either way, keeping it clean saves a lot of issues, time, and money down the line.
Cleaning out the tank is definitely on a spectrum of difficulty based on the size of the tank and should be done once a year, preferably as part of a whole system clean. This process includes sediment removal and algae prevention. With the small drum-like tanks, you can just give your garden a good watering, dump out any excess water, then scrub it and rinse, and you’re good to go. Larger ones are quite difficult and require a whole morning of work to sort out. It would be best to use a pressure washer (if you have one) or if not, get a mop, some bleach, and hot water and scrub all the build-up from inside the tank. Remember to rinse thoroughly afterward; nobody likes chemicals in their water. If your system includes UV sterilization, make sure to maintain those components as well.
Doing a deep cleaning of the system during this time is also the perfect opportunity to keep an eye out for leaks and faults. Having a dry empty tank is the perfect time for repairs, ensuring your water conservation efforts aren’t going to waste.
If you live in a part of the world that gets cold winters, your climate must cost you more time, money, and bother, and I’m sure you’re used to it. Winterizing your system is important as water freezing in containers, pipes, etc., can end badly. I don’t have to deal with this as my winters are considered summers in large parts of the world, and for that, I am truly grateful. From what I’ve read and learned, treating your system like you would yourself in the cold is a good start. Insulate and wrap up your downpipes and any exposed pieces and tank if possible. Secondly, maintaining a full tank makes it harder for water to freeze.
Uses for Harvested Rainwater
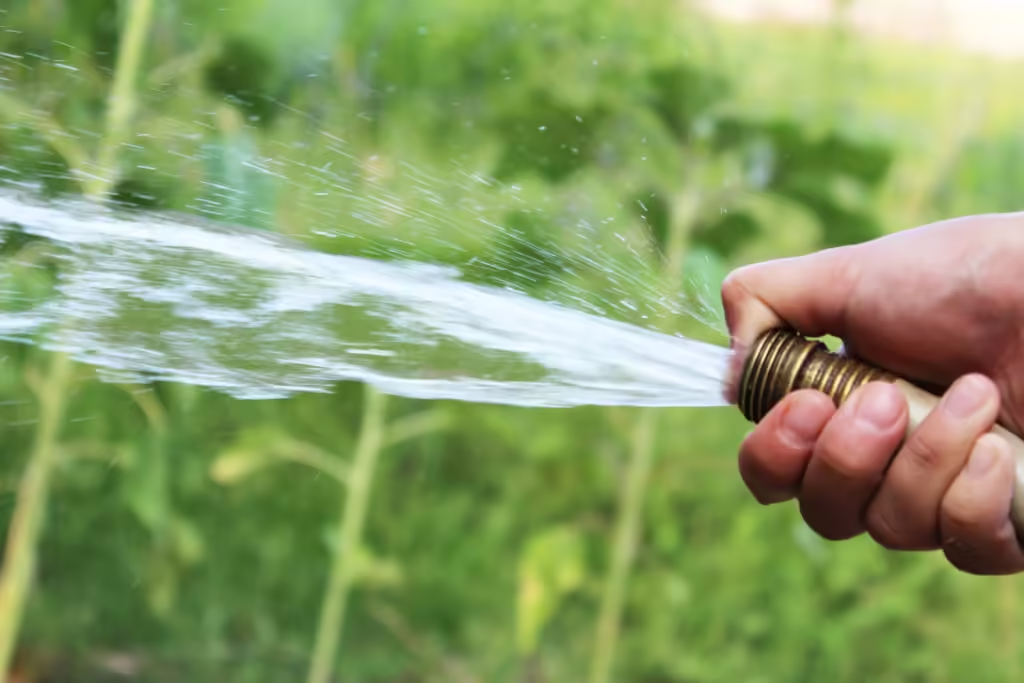
Realizing that most of the water you use is not potable might be a realization that only I had but it genuinely never struck me. Even after having started collecting my own rainwater I was still washing my car and bike with tap water and then I clicked let me bucket it? Sounds dumb but it was a lightbulb moment for me.
I’ve already mentioned my biggest savers have been filling my toilet cisterns and of course the biggest water sucker of them all, my garden. Gardens will love your rainwater, it’s free from minerals, salts, and chemicals found in groundwater and tap water. Rainwater also absorbs nitrogen from the atmosphere which is great for soil.
I haven’t used it for my laundry yet but have read it’s the way to go, it’s naturally softer than tap water as it contains no limescale-causing minerals which means you don’t need to use as much detergent as usual. It would be difficult to start off with a small system with no pump set up but it is definitely a goal if you plan to grow your system. The ultimate goal is to have some proper filters put in to make your rainwater potable, but until then there are a lot of uses you can find along the way.
Cost Analysis
I’ll try to do a cost breakdown of how much a 210l (55-gallon) setup would cost. I’ll do it in dollars for now (but might change later on) I’m not going to lie that the cost of a 210l (55 gallon) on amazon.com is a similar price range to that of of a 2050l (540 gallon) from builders warehouse in South Africa, which is quite shocking. In general, the rest of everything on this list is quite scary when I look at the cost for everyone else. Either way, I’ll give you a run down using basic, widely accessible online stores like Amazon as a reference, but please if you can them for cheaper and preferably local, go for it. I’ll make certain assumptions like that you have guttering this is also individually based, some roofs are bigger and will have different budgets for guttering but I will include the cost per meter and foot for guttering and downspouts.
- Rain Barrel 210l (55-gallon): $120
- Gutters: $8 – $15
- Downspouts: $20
- First Flush Diverter: $50
- Piping and Fittings: $100
- Miscellaneous (sealant, tools, etc.): $100
This was a bizarre bit of research for me and once again I’m very grateful for my situation here. I do feel obligated to remind you that these are ballpark figures and that a better price can always be found and heavily recommend doing more research.
Common Mistakes to Avoid in DIY Rainwater Harvesting
The most common issues that affect rainwater harvesting are improper maintenance and natural phenomena like severe weather, and infestation whether from bacteria, insects, or pests.
- Having a blacked-out tank that doesn’t allow light in will stop algae from growing.
- Keeping your tank sealed will also help keep mosquitoes from starting a civilization in your tank and bird and rat feces from falling in.
- Make sure all overflow pipes and down pipes have a mesh covering to keep critters out, drowned rodents are a common sight in unprotected rainwater tanks.
- Placing your tank on a stable solid, preferably concrete surface, will prevent it from tipping, and heavy rains can cause the ground underneath your tank to give way.
- If the tank is used for potable water, it’s important to clean the tank to prevent bacteria like legionella even if your system has a good filter system rather be safe than sorry.
As I said, maintenance is the most important thing and I definitely think you should get used to loving it. Having a rainwater tank is more like a relationship than anything else and has to be treated as such. Do you want to benefit? Then you need to put that little bit of effort in.
There you have it – your comprehensive guide to DIY rainwater harvesting! By following these steps, you’ll be well on your way to creating your own sustainable water source right at home. Not only will you save money on your water bills, but you’ll also be doing your part for the environment. Remember, every drop counts, and with your new rainwater harvesting system, you’ll be making the most of nature’s precious resource. So why wait? Grab your tools, and let’s start harvesting that rain! Have you already tried rainwater harvesting? Share your experiences in the comments below!
